Baked Chicken Chimichangas Recipe
So you’re craving something tasty but too lazy to spend forever in the kitchen, huh? Same. We’ve all been there—hunting for a meal that’s delicious, easy, and doesn’t require five hours of prep work.
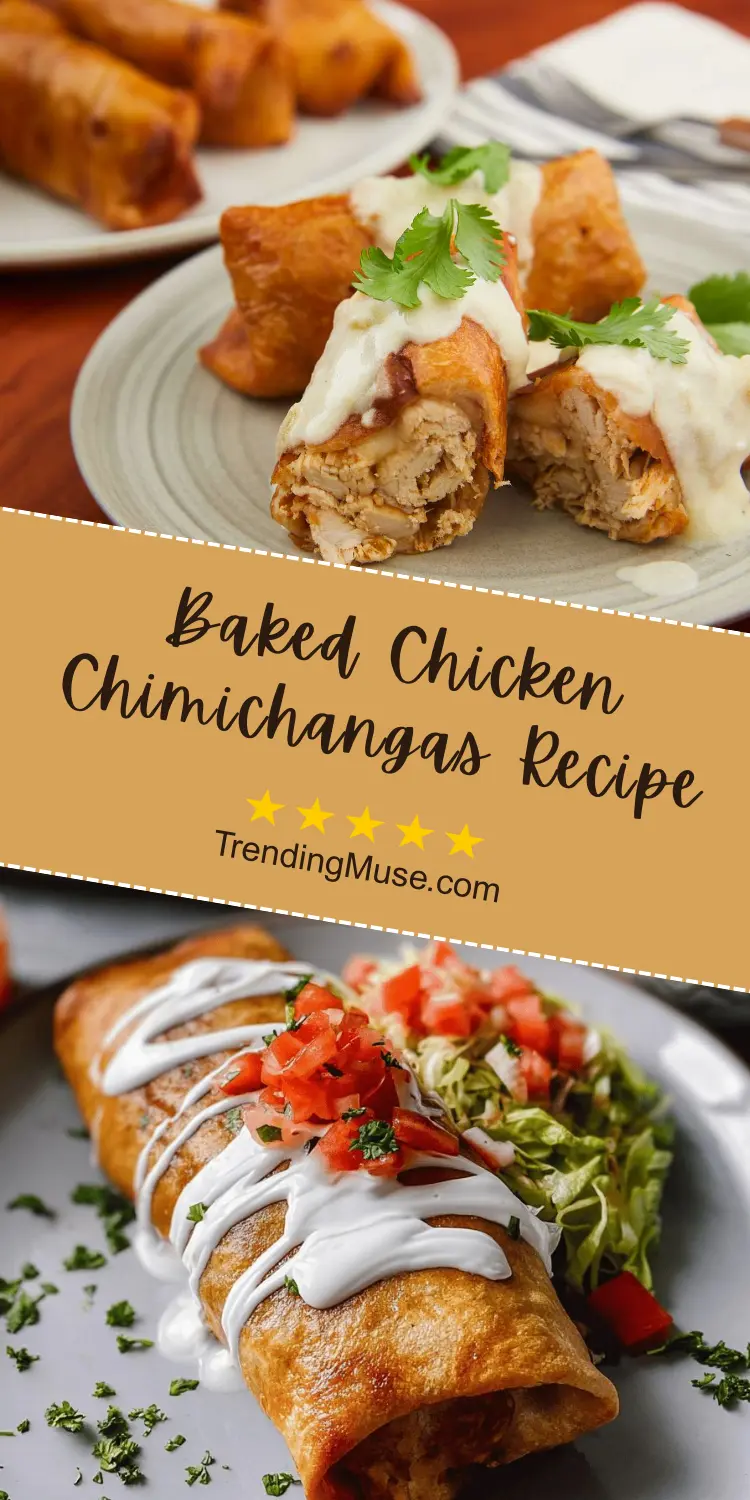
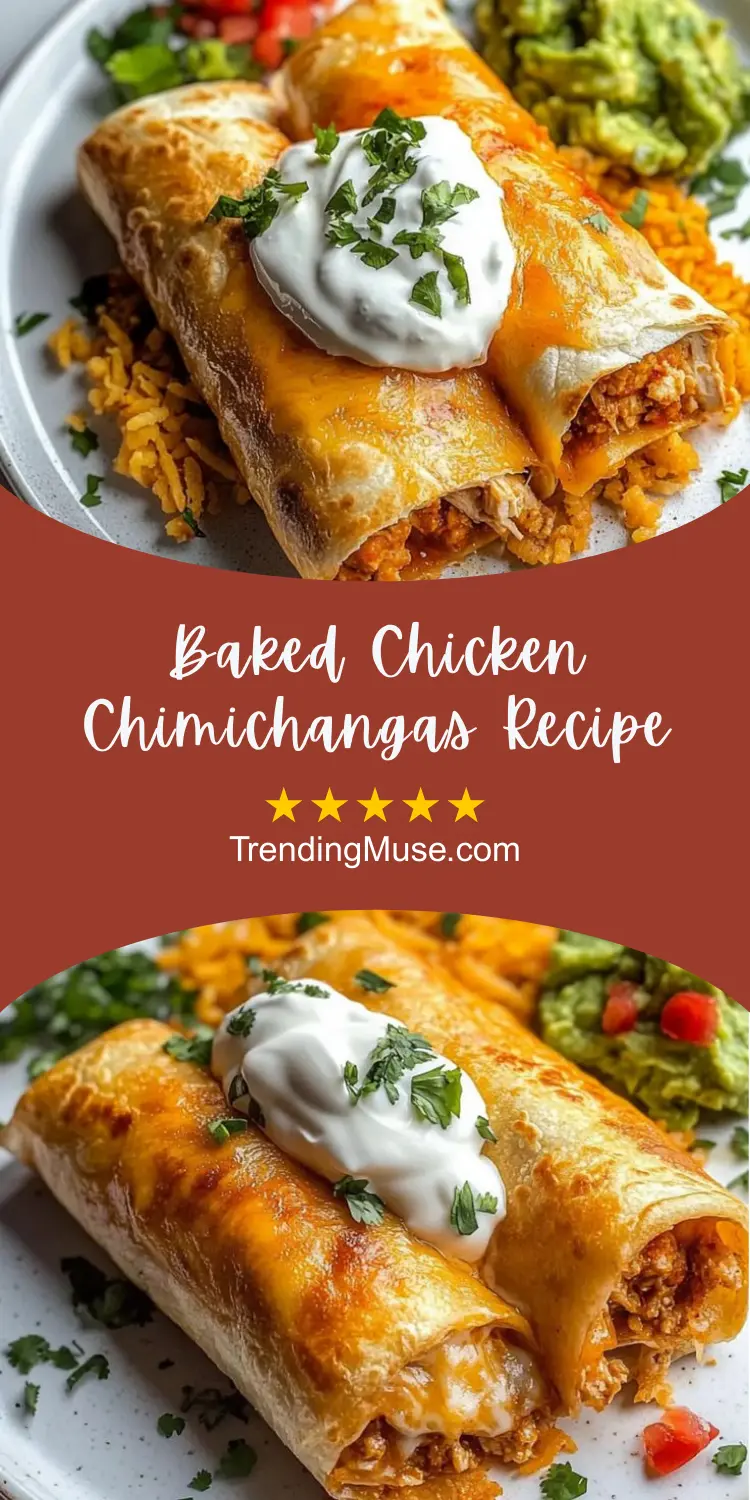
That’s where these Baked Chicken Chimichangas come in. Think crispy, golden tortillas stuffed with juicy, seasoned chicken and topped with all the cheese and salsa your heart desires. And the best part? They’re baked, so you can skip the oil and still get that perfect crunch. Yup, it’s like a crunchy, cheesy dream come true—without all the grease.
Why This Recipe is Awesome
Let me tell you why this Baked Chicken Chimichangas Recipe is basically a gift to humanity. First off, it’s easy-peasy. Seriously, if I can pull this off, you can too—no gourmet chef skills needed. You get all the flavor of a deep-fried chimichanga, but with way less mess. Plus, they’re baked, so there’s no hot oil splattering all over the kitchen (goodbye, burn marks).
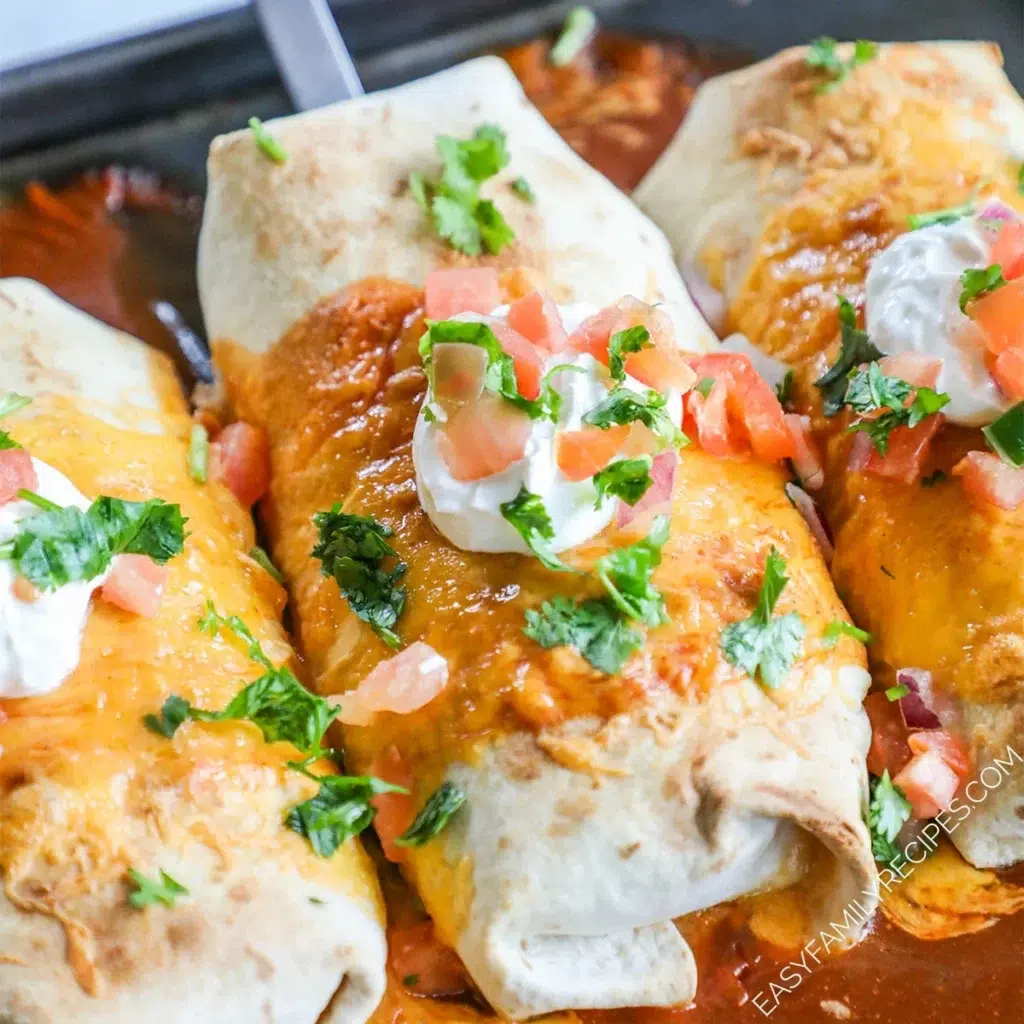
And the fillings? Just, wow. We’re talking seasoned chicken, beans, cheese, and salsa all wrapped up in a tortilla and baked until golden. It’s like a flavor explosion in every bite. Whether you’re feeding yourself or a crowd, this recipe’s a crowd-pleaser. Even picky eaters can’t resist the combo of crispy tortilla and gooey cheese.
Ingredients You’ll Need
Okay, here’s what you’ll need to make these tasty, crispy bundles of joy:
- 3–4 boneless, skinless chicken breasts (or thighs, if you’re feeling wild)
- 1 can (15 oz) refried beans (yes, the canned kind—we’re keeping it easy here)
- 1 cup shredded cheese (cheddar, Mexican blend, or whatever makes you happy)
- 1 tablespoon taco seasoning (because why reinvent the wheel?)
- 1/2 cup salsa (use your favorite, mild or spicy)
- 1 tablespoon olive oil (for brushing)
- 4–6 large flour tortillas (soft, not too thin, trust me)
- Salt and pepper, to taste (don’t forget these—flavor is everything)
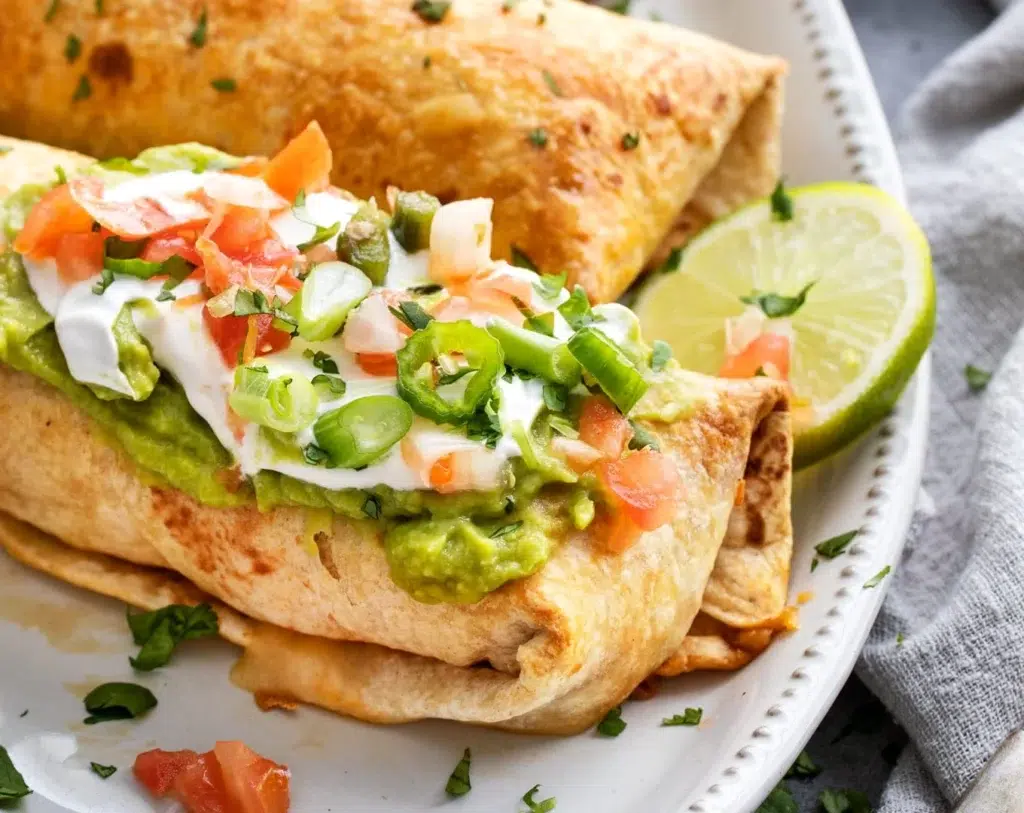
- Sour cream, guacamole, or extra salsa for dipping (optional, but let’s be honest—totally necessary)
Step-by-Step Instructions
Alright, now that you’ve got your ingredients, let’s get to the fun part—making the Baked Chicken Chimichangas.
- Preheat your oven to 400°F (200°C). This is the magic number for getting your chimichangas crispy without deep-frying them. So, hit that button and let’s get the oven hot and ready.
- Cook the chicken. Season your chicken breasts with a little salt, pepper, and taco seasoning. Pop them in a skillet over medium heat with a drizzle of olive oil. Cook them for about 6–8 minutes per side, or until they’re fully cooked through (internal temp of 165°F). If you’ve got a rotisserie chicken or leftover chicken, use that—it’ll save time and still taste amazing.
- Shred the chicken. Once your chicken’s cooked, shred it using two forks. You want those perfect bite-sized pieces that will nestle comfortably in your tortilla.
- Mix the filling. In a large bowl, combine your shredded chicken, refried beans, salsa, and shredded cheese. Stir it all together like you’re making the world’s best dip. Don’t forget to taste it—add more seasoning or salsa if needed. If it’s too dry, a little extra salsa goes a long way.
- Assemble the chimichangas. Lay out your tortillas flat on a clean surface. Spoon about 1/2 cup of the chicken mixture in the center of each tortilla. Then, fold the sides in and roll them up tightly—like you’re wrapping a present, but way more delicious.
- Brush with olive oil. Place your rolled chimichangas seam-side down on a baking sheet. Brush the tops lightly with olive oil for that golden, crispy finish. It’s all about the crunch, people.
- Bake them. Slide those bad boys into the oven for 20–25 minutes, or until they’re golden and crispy. Give them a quick flip halfway through if you want an even crunch on both sides.
- Serve and enjoy. Once they’re out of the oven, let them cool for a minute (so you don’t burn your mouth—trust me, it’s worth the wait). Serve with sour cream, guacamole, or extra salsa for dipping. Then, go ahead and take a bite—you deserve it.
Common Mistakes to Avoid
- Overstuffing your tortillas. It’s tempting to load them up with all that chicken goodness, but keep it in check. Too much filling makes them hard to roll and can lead to leaks. Less is more, my friend.
- Skipping the olive oil. This is key to getting that crispy, golden texture. You might think you can skip it, but you’ll regret it. Give them a light brush for the best results.
- Not checking the chicken temp. No one wants undercooked chicken, especially when it’s wrapped in a tortilla. Make sure you hit that 165°F internal temperature. It’s worth it to invest in a meat thermometer—it’ll save your dinner.
- Not letting them cool a bit before eating. They’re hot—like, lava-hot. Don’t burn your mouth. Wait a couple of minutes, and let those chimichangas rest before diving in.
Alternatives & Substitutions
- Different meats: Not a fan of chicken? Ground beef or shredded pork work just as well in this recipe. Heck, ground turkey could be a great, lean alternative.
- Vegetarian? Swap the chicken for black beans, corn, and maybe some extra veggies like peppers or zucchini. These chimichangas can easily go meatless and still taste amazing.
- Cheese swap: Use whatever cheese you like—Monterey Jack, Pepper Jack for a spicy kick, or even a blend of cheddar and mozzarella for ultimate cheese pull action.
- Gluten-free? Try gluten-free tortillas. They might not be as pliable as flour tortillas, but they’ll still get crispy and hold everything in nicely.
Other Chicken Dishes:
FAQ (Frequently Asked Questions)
Can I make these ahead of time?
Yes, you can assemble them and store them in the fridge for up to 24 hours before baking. Just pop them in the oven when you’re ready for dinner. Meal prep magic.
Do I have to use refried beans?
Nope! You can substitute with black beans, pinto beans, or even cream cheese for a richer filling. Just make sure whatever you use is easy to spread so you can roll up your chimichangas without them falling apart.

Can I use corn tortillas instead of flour?
You can, but just know that corn tortillas are less pliable and might crack when you roll them. If you go that route, heat them up first to soften them a bit.
How do I store leftovers?
Store your leftover chimichangas in an airtight container in the fridge for up to 3 days. They’re best reheated in the oven to keep that crispy exterior. You can even freeze them for up to 2 months—just bake them straight from frozen when you’re ready to eat.
What’s the best dipping sauce?
In my humble opinion, sour cream and guacamole are a must. If you’re feeling extra, drizzle some extra salsa on top for that perfect finishing touch.
Final Thoughts
And there you have it—Baked Chicken Chimichangas that are crispy, cheesy, and oh-so-satisfying. These bad boys are perfect for a quick weeknight dinner, game day, or really any time you want something that feels like a cheat meal but doesn’t require hours in the kitchen.
So go ahead, roll them up, bake them to crispy perfection, and impress yourself (and anyone else lucky enough to try them). You’ve earned it.